
Intended Use
Open tray impression technique.
Characteristics
– Slender emergence profile accommodates space limitations
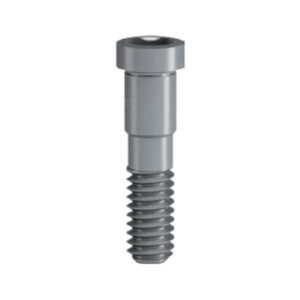
– Guide screw can be tightened either by hand or with the prosthetics driver
– High precision impression components give an exact replica of the intraoral situation
– Clear-cut tactile response from the prosthetic connection verifies proper seating of components.
Note
Open tray impression procedure requires a custom-made tray with perforations. Impression posts are intended for single use only to ensure optimal fit and precise impression taking for each patient.
STEP 1
Place the impression post accurately into the implant and hand-tighten the guide screw.
STEP 2
Make perforations in the custom-made impression tray (light cured resin) according to the individual situation so that the positioning screw of the impression post sticks out.
STEP 3
Take the impression using an elastomeric impression material (polyvinyl siloxane or polyether rubber).
STEP 4
Reposition and fix the analog in the impression using the screw.


There are no reviews yet.